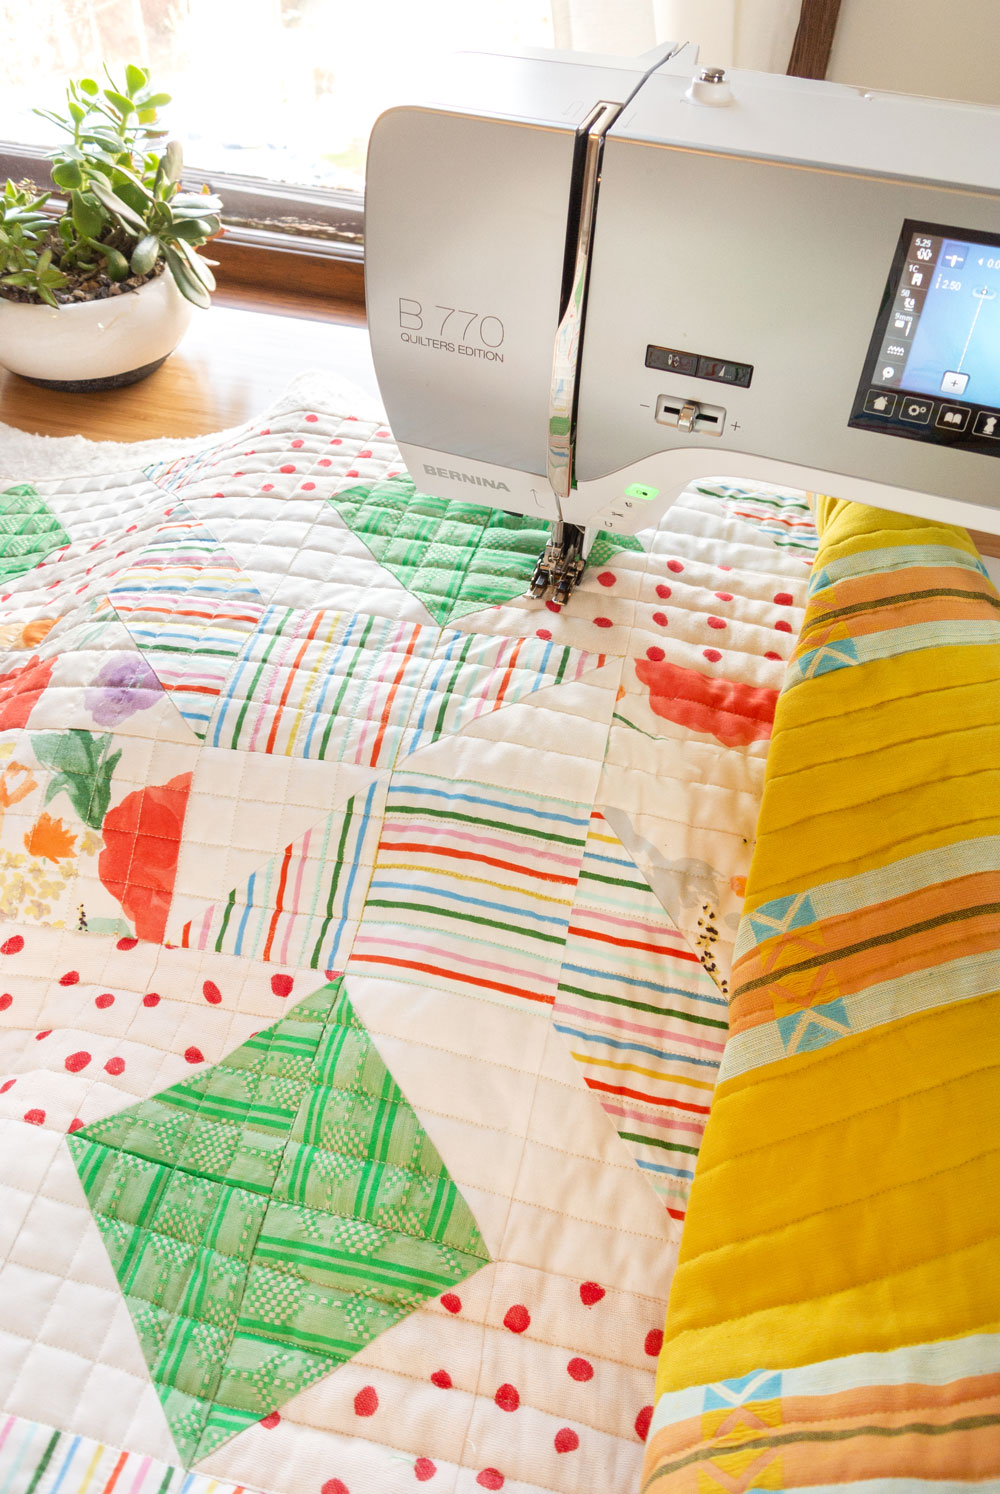
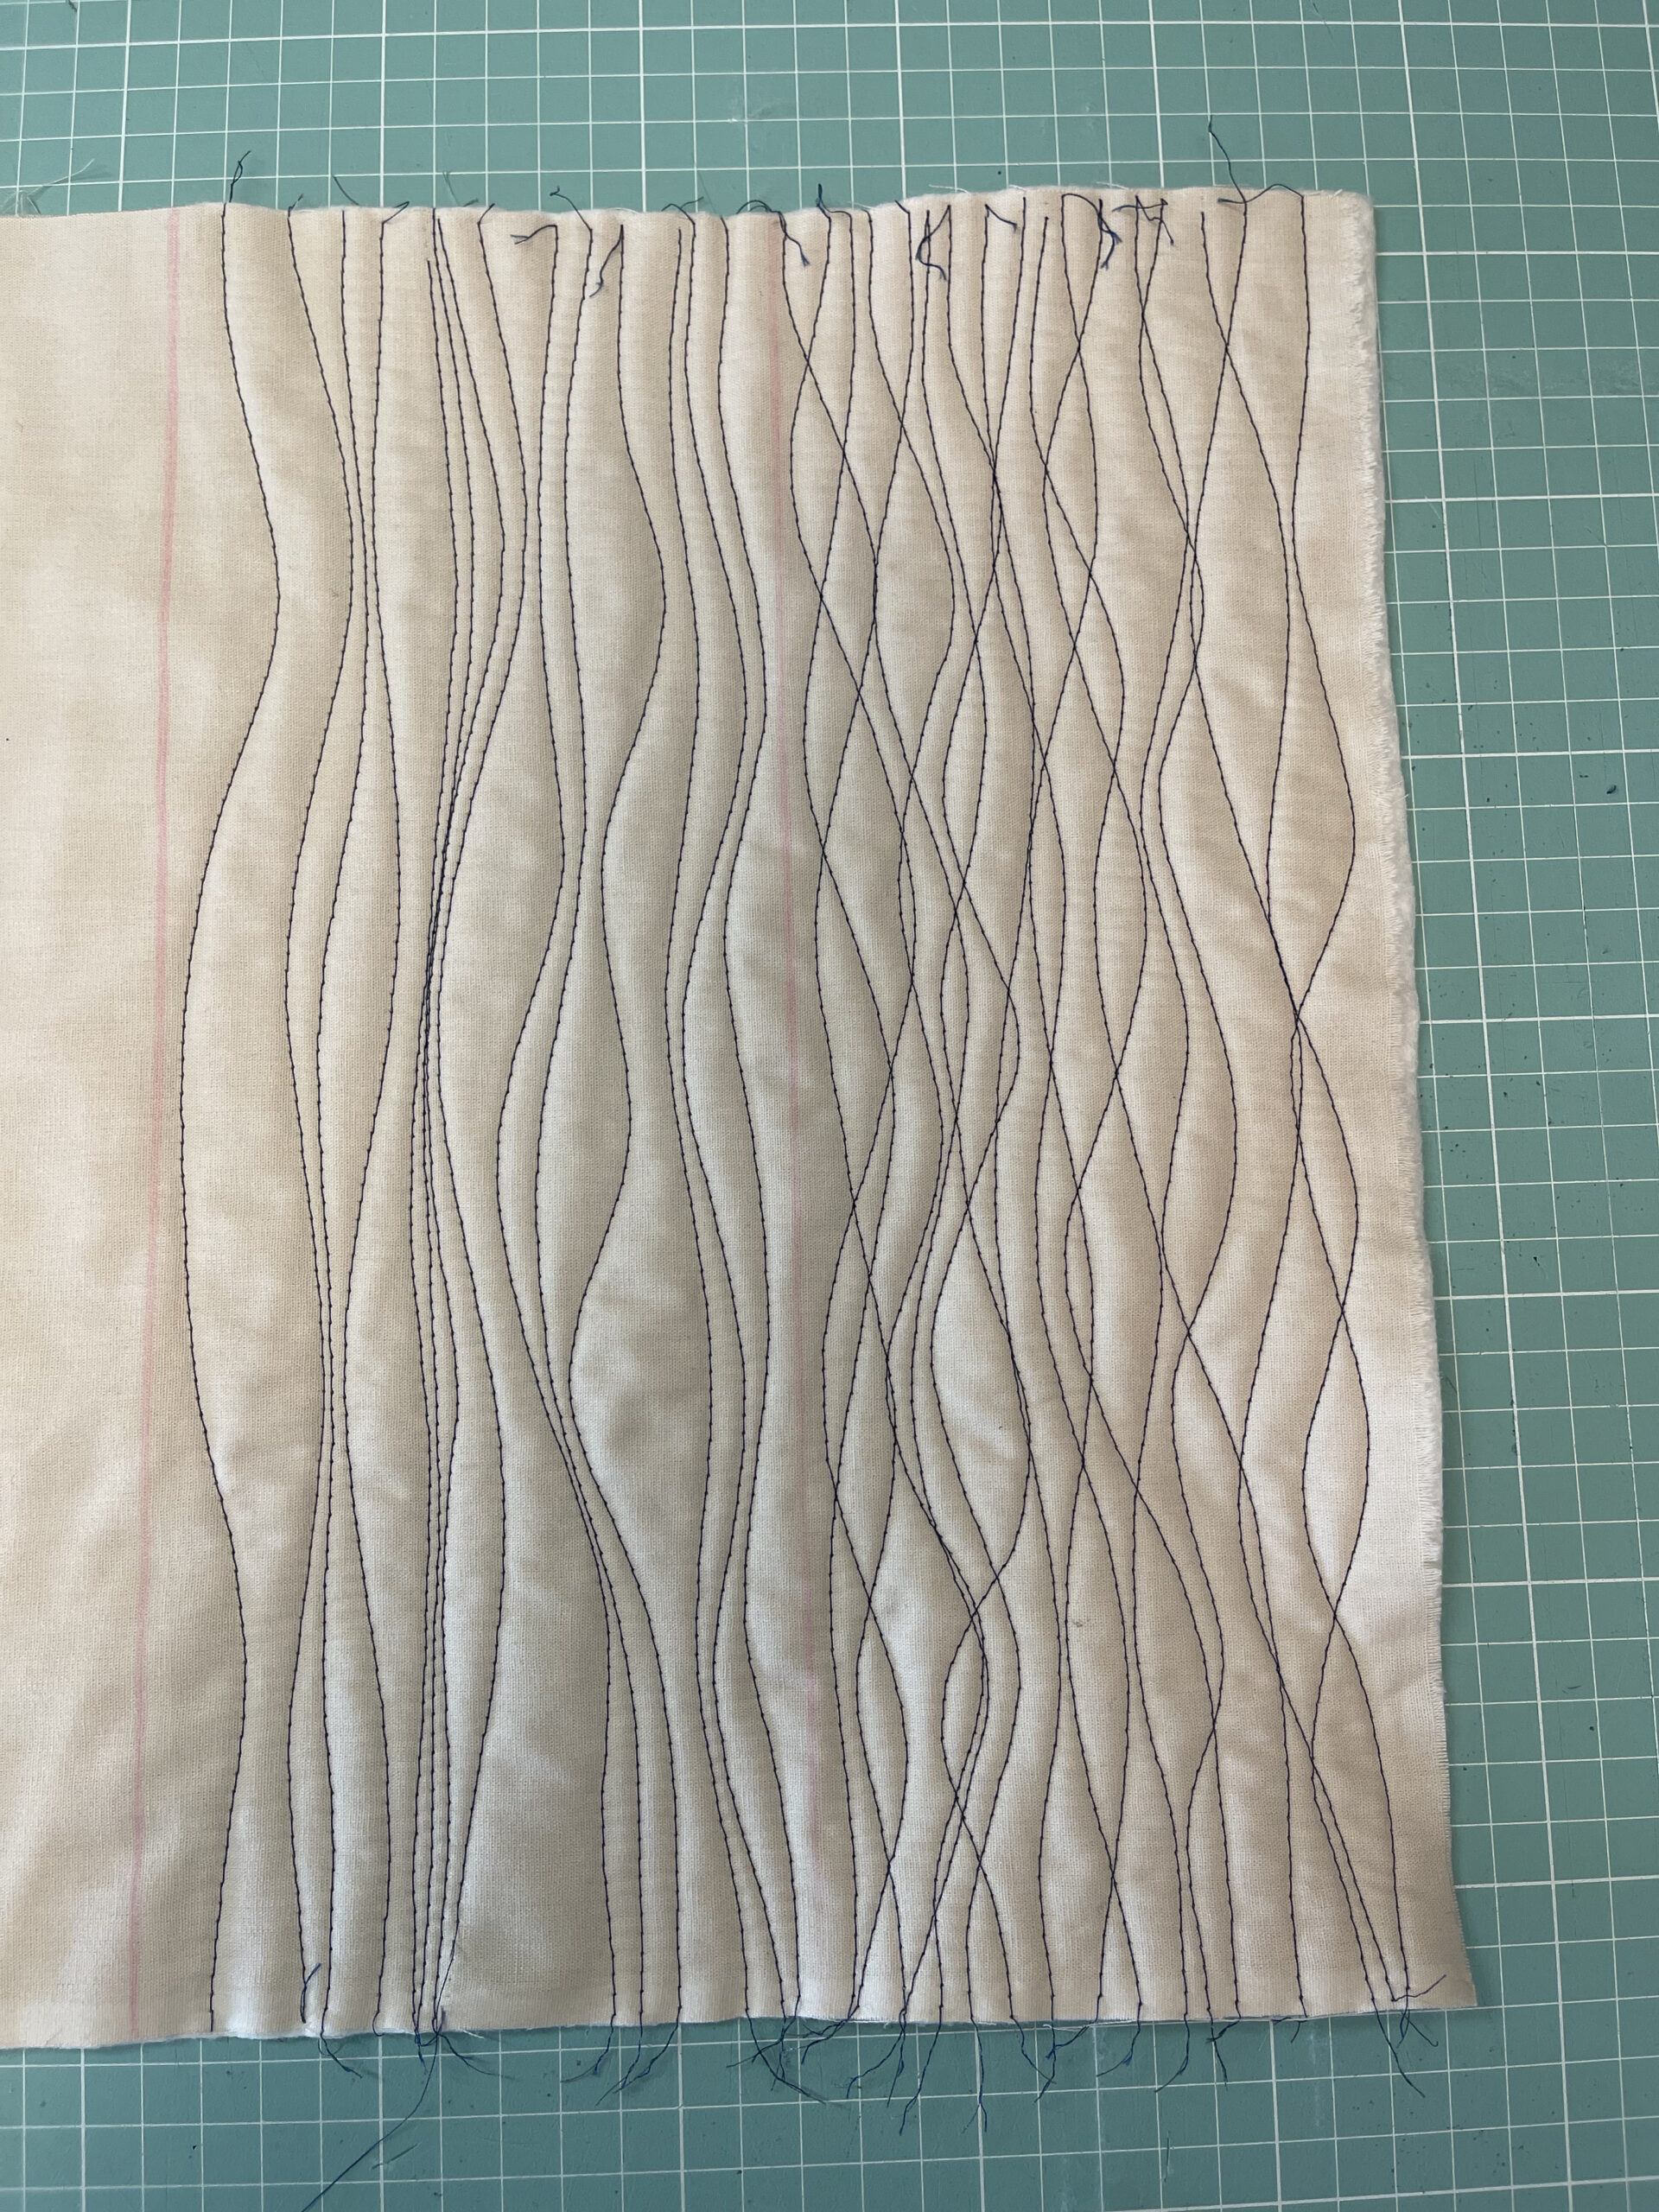

You don’t need a longarm machine or a dedicated studio to create beautiful, professional-looking quilts. With the right techniques, tools, and a bit of practice, your home sewing machine is more than capable of producing stunning results. Whether you’re quilting your first throw or refining your skills, this guide will walk you through how to quilt like a pro—right from your own sewing room.
Professional-looking quilting begins before you even sit down at your machine.
A quilt sandwich includes:
Quilt top
Batting
Backing fabric
Lay everything flat and smooth, then secure the layers using:
Safety pins (curved pins work best)
Temporary spray adhesive
Basting stitches (by hand or machine)
💡 Pro tip: Wrinkles or loose areas will almost always turn into puckers later.
Small choices make a big difference.
Needle: Use a 90/14 quilting or topstitch needle for most projects
Thread: High-quality 40wt or 50wt cotton or polyester
Batting: Cotton for a traditional look, polyester for loft, or blends for the best of both
Matching your thread color to your quilt top creates a clean, professional finish—contrasting thread highlights your quilting design.
Your standard sewing machine likely already has what you need.
Lower or cover your feed dogs for free-motion quilting
Attach a walking foot for straight-line or grid quilting
Adjust stitch length (slightly longer stitches often look more polished)
🧠 Take time to practice on a quilt “sandwich scrap” before starting your actual quilt.
Straight-line quilting is clean, modern, and incredibly forgiving.
Use:
A walking foot
A ruler or seam guide
Painter’s tape to mark lines
You can quilt:
Parallel lines
Grids
Stitch-in-the-ditch along seams
This technique is beginner-friendly and widely used by professional quilters.
Free-motion quilting gives your quilts that signature “wow” factor.


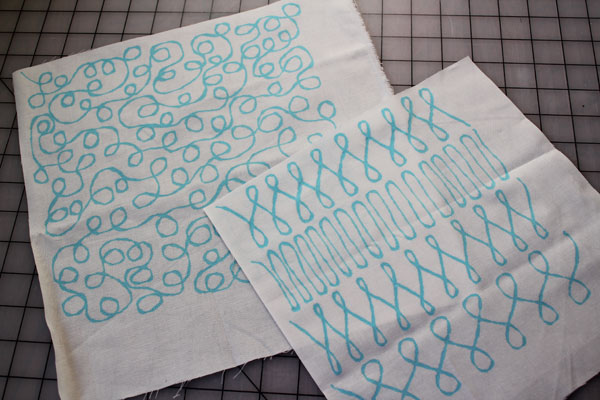
Lower feed dogs
Use a free-motion or darning foot
Move the quilt smoothly with your hands
Begin with simple designs like:
Meandering (loops)
Wavy lines
Echo quilting
🎯 Remember: It’s the movement of your hands, not the pedal speed, that controls stitch length.
Quilting large projects on a home machine can feel awkward—but it’s totally manageable.
Roll or fold excess quilt fabric
Support the quilt with a table or extension
Quilt from the center outward to prevent distortion
Take breaks often. Even pros don’t rush quilting.
The final steps elevate your quilt from homemade to professional.
Lightly press (don’t iron aggressively)
Square up and trim edges
Use a consistent binding width
Hand-stitch or neatly machine-finish your binding
Clean edges and smooth binding are hallmarks of expert quilting.
Even professional quilters started with uneven stitches and wobbly lines. Each quilt improves your skill and confidence.
✨ If it looks good from three feet away—it is good.
Quilting on a home sewing machine isn’t a limitation—it’s a creative advantage. With thoughtful preparation, the right techniques, and a little patience, you can create quilts that look polished, intentional, and truly professional.
Happy quilting—and don’t forget to enjoy the process 💛