
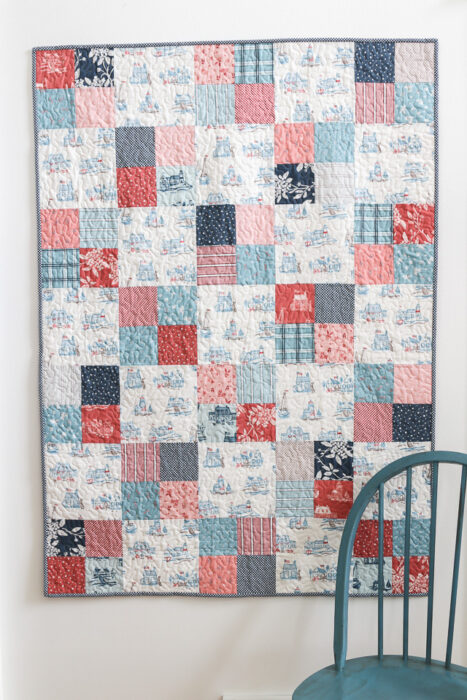
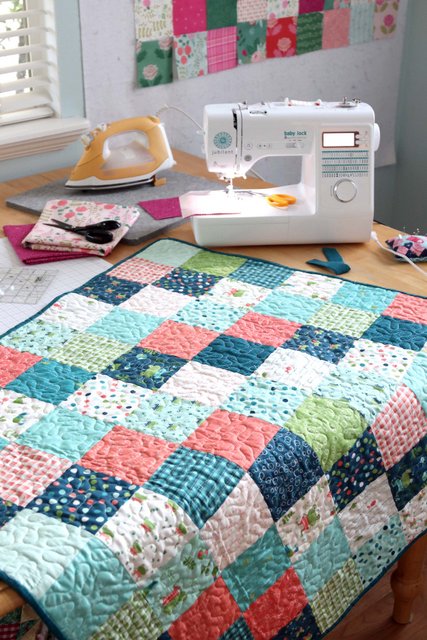
Patchwork is one of the most satisfying (and beginner-friendly!) ways to start sewing. With just straight stitches and simple shapes, you can turn fabric scraps into beautiful projects like quilts, pillow covers, tote bags, and more. If you’re brand new to sewing—or want a confidence boost—this step-by-step patchwork tutorial is for you.
Patchwork is the technique of sewing smaller pieces of fabric together to create a larger design. These pieces are often cut into squares, rectangles, or strips and arranged in repeating patterns.
The best part? Patchwork is forgiving, budget-friendly, and perfect for using up fabric scraps.
Before you start, gather a few basics:
Cotton fabric (quilting cotton is ideal for beginners)
Sewing machine
Universal needle (80/12 or 90/14)
Thread (neutral colors work best)
Rotary cutter or fabric scissors
Ruler or quilting ruler
Iron and ironing board
💡 Beginner tip: Stick to 100% cotton fabrics—they’re easier to cut, press, and sew accurately.
Start with something straightforward, like:
Basic squares
Rectangles
Strip piecing
Avoid triangles or curves at first—they’re fun later, but not beginner-friendly.
Accurate cutting makes sewing much easier.
Cut all pieces the same size
Common starter size: 5-inch squares
Use a ruler and rotary cutter if possible
Take your time here—neat cuts = neater patchwork.
Lay your fabric pieces out on a table or floor before sewing.
Mix light and dark fabrics for contrast
Avoid placing the same fabric right next to itself
Take a quick photo so you don’t forget the layout
There’s no “wrong” arrangement—patchwork is all about creativity.
Now it’s time to sew!
Use a ¼-inch seam allowance
Sew pieces right sides together
Chain piece (sew continuously without cutting thread)
Sew your squares into rows first, then sew the rows together.

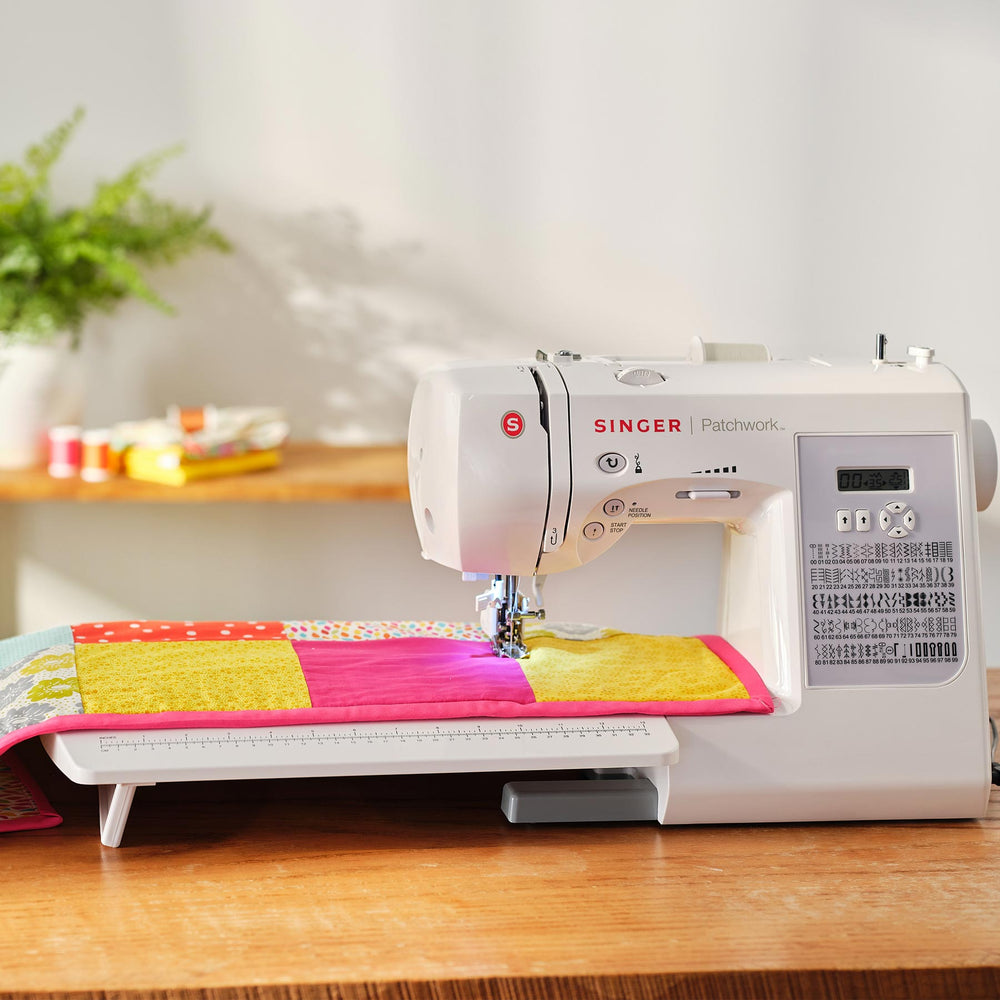
Pressing is what makes patchwork look clean and professional.
Press seams to one side or open
Press after every seam
Lift and press—don’t slide the iron
✨ This step alone can completely transform your results.
Once your rows are complete:
Pin at seam intersections
Sew rows together carefully
Press seams again
If your seams don’t line up perfectly—that’s okay! Even experienced sewists miss a match now and then.
Trim the edges so your patchwork piece is neat and even.
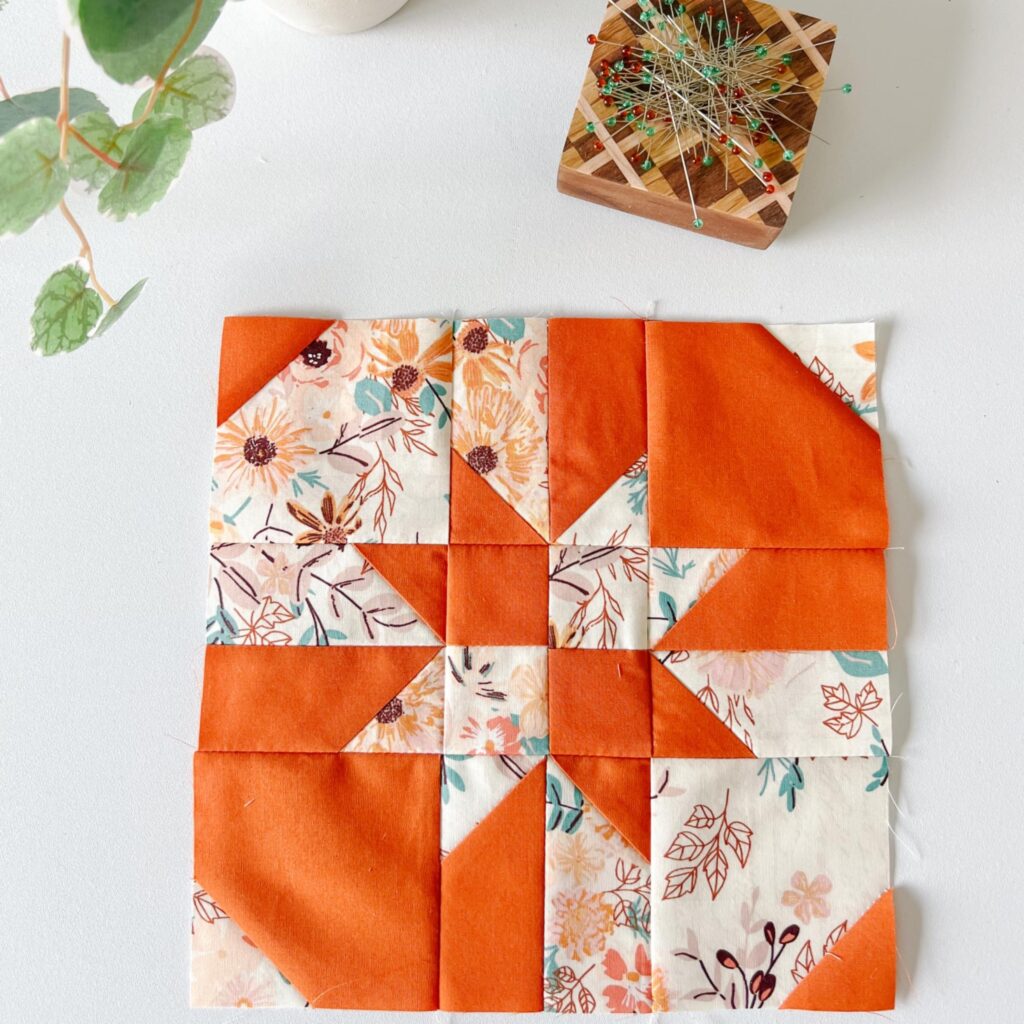
Uneven blocks?
→ Your seam allowance may be inconsistent. Slow down and guide your fabric gently.
Wavy patchwork?
→ Press more often and avoid stretching the fabric.
Doesn’t look perfect?
→ Congratulations—you’re doing patchwork correctly. 😉
Patchwork teaches you:
Straight-line sewing
Seam accuracy
Fabric handling
Pressing techniques
Best of all, it builds confidence fast. Every finished block is a win.
Once you’re comfortable with patchwork, you’re already halfway to quilting, bag-making, and garment sewing. Keep practicing, use fabrics you love, and remember—progress beats perfection every time.
Happy sewing! 🧵✨